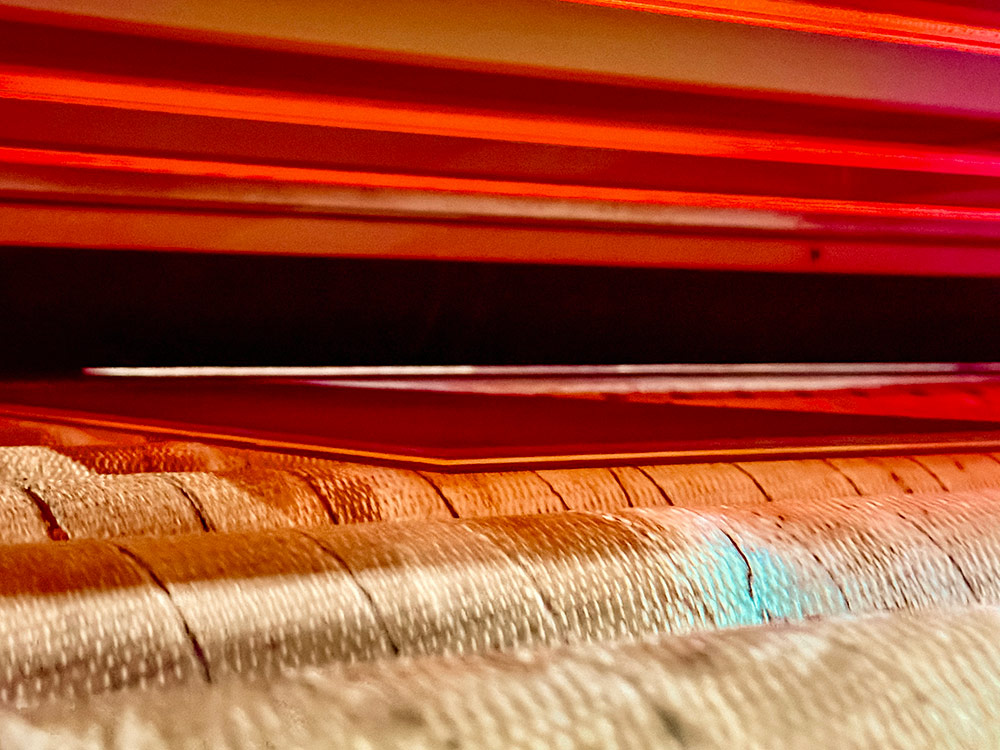
Introduction – Why Lamination is a Critical Step
In this article, I share field-based observations on laminated glass manufacturing gathered from around the world: recurring pitfalls in production, how to identify them, and how they can be resolved. The writing is grounded in both hands-on fieldwork and R&D experience. The use of laminated architectural glass continues to grow globally, and it’s great to see more high-quality and demanding laminated solutions being produced in the glass industry.
Before joining Corning’s European Technology Center to establish and run the company’s first lamination R&D lab and daily operations with my team, I had worked in lamination for several years. At Corning, I was able to dive deep into various lamination processes and materials, ranging from ultra-thin glass to a wide range of interlayers and specialty solutions for product development—some of which have only recently entered the market.
While lamination might seem simple at first glance, it is ultimately a highly complex process. Fortunately, an unusually large body of technical knowledge is available, particularly from interlayer manufacturers. Lamination is a multi-stage and highly sensitive process. Success requires the ability to grasp broad cause-and-effect relationships and to understand critical process limits. This knowledge must then be successfully applied and tailored to real production environments. Every factory and machine are unique, and process parameters or limits are rarely directly transferrable. In today’s operating environment, ensuring consistent quality, high yield, and stable processes is essential.
Ultimately, the critical role of lamination in determining product quality and performance boils down to two essential points:
- Waste from the lamination stage is exceptionally costly, as defects often only emerge in the final process phases.
- In safety glass applications, failed lamination can put human lives at risk.
These realities highlight the uncompromising importance of process control and quality assurance.
In this article, I aim to share the most common issues I’ve helped clients solve in the field and the typical pitfalls that are surprisingly easy to overlook.
PVB and Its Key Properties – What You Need to Understand
PVB is a hygroscopic material, meaning it absorbs moisture from the surrounding air. The moisture content of the interlayer reaches equilibrium based on the relative humidity of the environment. This feature is also one of its main weaknesses. The four most important properties of PVB are:
- Elasticity
- Adhesion capability
- Light transmittance
- Optical properties
There is various interlayer types suited for different adhesion demands, factory and product-level process variables, and surface rheology combinations that match different de-airing methods.
Float Glass Orientation Matters
The air/tin side orientation of float glass affects PVB adhesion:
- Air side offers stronger adhesion
- Tin side offers weaker adhesion but may work better for impact absorption.
Float glass surface structure also varies by manufacturer and product. These surface characteristics impact adhesion. Since product and material requirements vary widely, there is no universal rule for surface orientation. The correct orientation depends on product function, process conditions, and material compatibility. What’s most important is that the defined installation orientation at product level is standardized and always maintained to ensure proper performance and quality.
In addition to the above, adhesion is also influenced by pre-processing steps such as glass washing, final rinse water quality, the type and formulation of the PVB, and its moisture content.
Glass Washing and Its Impact on Lamination Quality
The overall performance of the lamination process—and sometimes the root causes of quality defects—is often tied to pre-processing steps like tempering, bending, or glass washing.
The quality of the rinse water before lamination has a direct impact on PVB adhesion. Tap water typically contains dissolved salts, especially hardness-causing alkaline earth ions like magnesium and calcium, and smaller amounts of sodium and potassium. Magnesium and calcium significantly weaken adhesion, even at low concentrations, while alkali metals (e.g., chloride salts) have a negligible effect.
Because of this, at minimum, the final rinse tanks of the washer should use treated water. One should be cautious when giving generic guidelines, as adhesion depends on a multivariable relationship where product performance in quality testing is also a key part of the equation. For this reason, rinse water quality should never be changed abruptly without running product-specific tests – otherwise, adhesion may increase too much.
As a practical example: if water conductivity exceeds 150 µS/cm, PVB adhesion can be cut in half. A good target is 20–25 µS/cm, but the most important thing is to ensure consistent, stable water quality without large fluctuations.
Nesting Issues – The Hidden Challenge of Heat-Treated Glass
From a lamination perspective, the most critical characteristic of heat-treated glass (tempered or bent) is its “nesting properties” – i.e., how well the glass layers match.
Tempering can cause shape distortions such as roller wave, overall bow, and edge lift, which individually or together can exceed critical limits. This leads to glass mismatch or spacing issues (nesting problems), where the glass pairs no longer sit flush. These issues can be managed with loading strategy or by pairing matched counterparts, but production constraints often limit these options.
Glass Gap – When Does It Become a Problem?
A typical guideline from PVB manufacturers is that the gap between glass layers should not exceed 10% of the interlayer thickness. For a 1.52 mm PVB, this means a maximum gap of only 0.152 mm. While a good rule of thumb, it is not always sufficiently specific on its own. Many factors influence the real threshold for glass gaps, including:
- Glass thickness
- Interlayer type and thickness
- De-airing method used
- Location of the gap
- Distortion magnitude and rate of change
The most critical factors are the distortion’s intensity, how quickly it changes, and where the gap is located. The more localized and edge-specific the gap, the more likely it is to cause quality issues during pre-lamination or post-autoclaving – sometimes even only after installation. These issues often present as interlayer pulls or edge seal failures.
In practice, solving this issue requires knowing how to detect and measure the gap. These tools also help verify whether changes made to the tempering or bending process are working, andallow defining product-specific quality limits.
Pre-Lamination – De-Airing and Edge Seal Integrity
There are three main pre-lamination (de-airing) methods:
- Vacuum bag method
- Vacuum ring method
- Roller press method
Vacuum bags and rings use suction to remove air, making them very effective. Bag de-airing is the most efficient method and can be performed in a separate oven, through a conveyor oven, or inside the autoclave. This vacuum-based method suits both flat and bent laminates.
Roller press de-airing relies on mechanical air removal by compressing the laminate between roller pairs. Typically, these machines have pre-heating rollers before the oven and final rollers after. In architectural glass, this is only used for flat laminates.
The most effective way to understand the de-airing process is through its three main objectives:
- Remove as much residual air from the laminate as possible
- Create initial adhesion between glass and PVB
- Establish sufficient edge seal before the autoclave
A key fact: the most air is removed when the laminate is still cold. This applies regardless of method – bag, ring, or mechanical de-airing – and should be understood in relation to the above objectives. Of course, not all roller-based machines allow “cold press” configurations, especially if they only have rollers after the oven.
One important skill I emphasize with clients is the ability to “read the glass.” This means visually assessing pre-laminate quality by looking at interlayer clarity, air pockets, surface compression marks, and edge seal status. Many post-autoclave issues are already visible right after pre-lamination and can be avoided with correct parameter adjustments.
Typical issues in pre-lamination include overheating, poor edge sealing, bubbles, and air pockets – all of which are often visible if you know how to read the signs. Some can be corrected through parameter changes, others stem from shape issues and require tempering or bending corrections.
Autoclaving – Balancing Pressure and Heat
Autoclaving involves three key parameters:
- Time
- Temperature
- Pressure
Time and temperature are primary; pressure is secondary. The pressure in the autoclave serves several purposes: it promotes PVB flow and shaping, ensures strong and uniform adhesion, and prevents moisture nucleation resulting to bubble formation.
Temperature enables PVB flow and bonding. Adequate heat softens the interlayer, allowing it to bond with the glass, ensuring both optical and mechanical performance. Maximum autoclave temperature and adhesion have a direct relationship: higher temperature yields higher adhesion.
Typical autoclaving problems include edge defects due to poor edge seal (letting pressure penetrate), microbubbles from pressure release too early or too quickly, or bubbles from opening the autoclave door too soon.
Interestingly, some bubble-type lamination defects appear with a delay – and can sometimes disappear later, making them even trickier to trace.
Clamping – Fix or Just a Band-Aid?
Often, lamination issues and scrap pile up in autoclaving. For example, pressure penetration into the interlayer during the cycle often leads to non-value-adding clamping techniques and re-autoclaving. While clamping (mechanical pressing) can work, it doesn’t solve root causes. It may reduce the product’s lifetime or quality and raises production costs by requiring clamps to be installed and removed before and after autoclaving.
From field experience, I’ve found clamping setups are rarely standardized. Pressing force varies, and clamp positions are often undefined or undocumented. In the worst case, clamps can even damage the glass unit. As a rule, I always recommend creating a SOP for this process.
Quality Control – Staying Ahead of the Curve
One frequent issue I encounter is the lack of real-time lamination process control and quality tracking. Process quality is often not actively monitored, and basic testing protocols for product adhesion aren’t always defined.
Adhesion and its variation can be measured using several methods, and sudden deviations signal process instability. I also strongly recommend measuring de-airing efficiency. Currently, the best method for this is progressive bake testing.
Lamination is a multi-stage process full of technical nuance – and even the topics discussed in this article could be expanded significantly. I hope the insights here offered you a fresh perspective and sparked ideas for improving your own production. If you have questions, don’t hesitate to get in touch.
Mika Eronen
Sr. Process Specialist & Project Manager
Global Glass Specialists


